
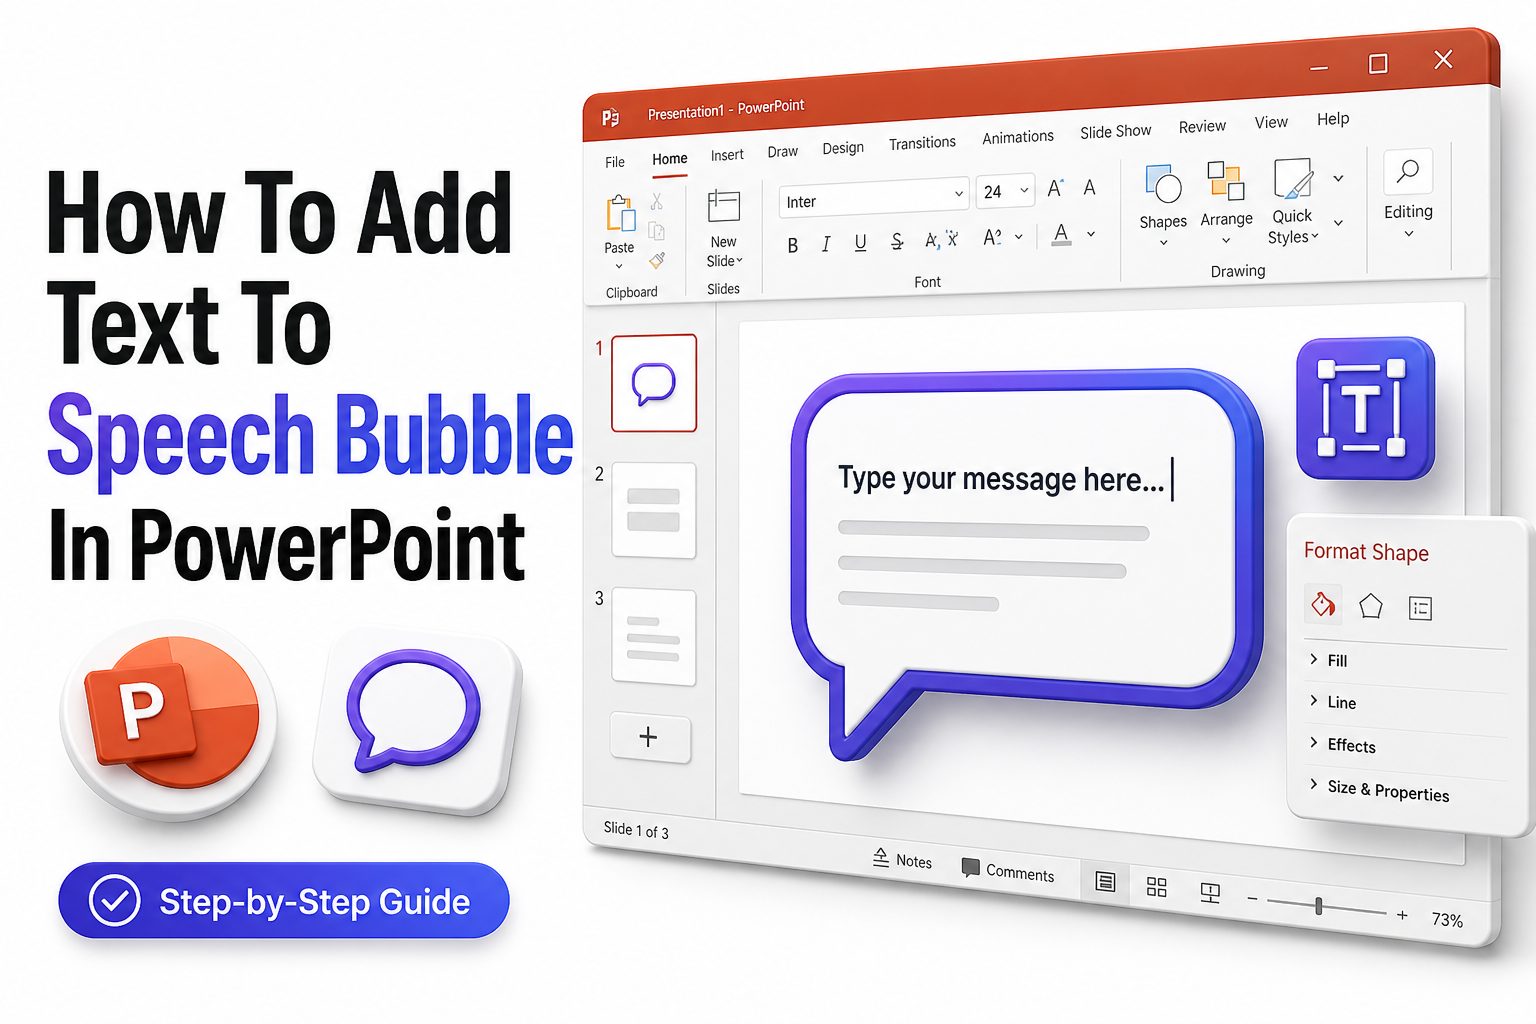
Adding speech bubbles to PowerPoint slides is a simple way to make ideas feel more visual, conversational, and memorable. Whether you are creating a business presentation, classroom lesson, training deck, comic-style slide, or product explanation, a speech bubble can help guide attention toward a key message. The challenge often comes after inserting the shape: knowing how to add text to speech bubble in PowerPoint and make it look clean, balanced, and easy to read.
PowerPoint gives you several built-in tools for speech bubbles, callouts, text formatting, alignment, and shape styling. Once you know where these tools are, you can create a polished result in just a few steps. This article walks through the full process, from inserting the right speech bubble shape to formatting the text, adjusting the tail, improving readability, and avoiding common design mistakes.
Why Speech Bubbles Work Well in PowerPoint
Speech bubbles work because they make text feel connected to a person, object, image, or idea on the slide. Instead of placing a plain text box beside a graphic, the bubble creates a clear visual relationship between the message and the subject.
They are especially useful when you want to show dialogue, highlight a quote, label a feature, or add a short explanation without crowding the slide. A well-placed speech bubble can make a presentation feel more dynamic while still keeping the message organized.
How to Insert a Speech Bubble Shape
Open your PowerPoint slide and go to the Insert tab. Select Shapes, then look for the Callouts section. PowerPoint includes several options, such as rounded rectangular callouts, oval callouts, cloud callouts, and line callouts with adjustable pointers.
Choose the speech bubble style that fits your slide, then click and drag on the canvas to draw it. You can resize it immediately by dragging the corner handles, and you can move it near the image, character, icon, or chart element it supports.
Quick Checklist Before Adding Text
- Choose a speech bubble shape that matches the tone of the slide.
- Keep the message short enough to read at a glance.
- Place the bubble close to the object or person it refers to.
- Leave enough white space around the bubble.
- Avoid covering important parts of an image.
- Use a font size that remains readable in presentation mode.
How to Add Text Inside the Speech Bubble
After inserting the speech bubble, click directly inside the shape and start typing. In most PowerPoint versions, callout shapes automatically accept text, so you do not need to add a separate text box unless you want advanced layout control.
If clicking inside the shape does not work, right-click the bubble and select Edit Text or Add Text. Once the cursor appears, type your message. PowerPoint will place the text inside the shape and let you edit it like any other text on a slide.
How to Edit Existing Speech Bubble Text
To change text you already added, click once on the bubble, then click again inside the text area. You can highlight words, delete lines, rewrite the message, or paste new copy without changing the shape itself.
If the text becomes too long, PowerPoint may shrink it, overflow it, or make it look crowded. Shorten the message first, then adjust the font size, line spacing, and bubble dimensions so the text fits naturally inside the shape.
Text Editing Options at a Glance
Option | Best Use
Edit Text | Changing words inside an existing bubble
Font Size | Making the message easier to read
Text Alignment | Centering or balancing short phrases
Line Spacing | Improving readability in multi-line text
Text Box Margins | Creating more breathing room inside the shape
Shape Resize | Fitting longer text without squeezing it
Formatting Speech Bubble Text Clearly
Select the text inside the bubble and use the Home tab to change the font, size, weight, color, and alignment. For most presentation slides, a clean sans-serif font works best because it stays readable from a distance.
Avoid using too many font styles inside one bubble. Bold can help emphasize a key phrase, but mixing bold, italics, multiple colors, and underlines often makes the bubble look cluttered. The goal is to make the text easy to scan quickly.
Choosing the Right Font Size
Font size depends on the presentation setting. For slides shown on a large screen, speech bubble text usually works well between 18 and 28 points, depending on the amount of text and slide layout.
For small meeting rooms or shared PDFs, you may be able to use slightly smaller text. Still, avoid going below 14 points unless the bubble is part of a detailed handout rather than a live presentation.
How to Align Text Inside the Bubble
Click the text inside the speech bubble, then use the alignment controls on the Home tab. Center alignment often works well for short phrases, while left alignment is better for longer notes or multi-line explanations.
You can also adjust vertical alignment by right-clicking the shape, choosing Format Shape, and opening Text Options. From there, you can set the text to appear at the top, middle, or bottom of the bubble.
Practical Formatting Tips
- Use bold only for the most important words.
- Keep line breaks balanced and intentional.
- Avoid all caps unless the phrase is very short.
- Use dark text on light bubbles for readability.
- Match the font style to the rest of the presentation.
- Keep punctuation simple and professional.
Resizing the Speech Bubble for Better Fit
If your text feels cramped, resize the speech bubble instead of making the font too small. Drag a corner handle to expand the bubble while keeping its proportions balanced. This helps preserve readability and improves the overall slide design.
Use the side handles only when you need to make the bubble wider or narrower. If the shape becomes too stretched, the design may look awkward. A wider bubble often works better for longer sentences, while a taller bubble suits stacked lines.
Adjusting the Speech Bubble Tail
Most PowerPoint callout shapes include a yellow adjustment handle. Drag this handle to reposition the tail so it points toward the speaker, object, image, chart data point, or feature being referenced.
The tail should feel intentional, not random. It should point close to the relevant subject without cutting across faces, text, logos, or important visual details. Small adjustments often make the slide look much more polished.
Common Size and Placement Fixes
Problem | Simple Fix
Text is too tight | Increase bubble width or height
Tail points poorly | Drag the yellow adjustment handle
Bubble covers the image | Move it into nearby white space
Text feels unbalanced | Adjust paragraph alignment
Bubble looks stretched | Resize from a corner handle
Slide feels crowded | Shorten the message or reduce objects
Changing Speech Bubble Colors
To change the bubble color, select the shape and go to Shape Format. Use Shape Fill to choose a background color and Shape Outline to adjust the border. A light fill with a subtle outline usually looks clean and professional.
Color should support the slide, not compete with it. If your deck uses brand colors, apply them carefully. A soft brand tint can work well for the bubble fill, while a darker brand color can be used for the outline or text.
Creating Contrast for Readability
Readability depends on contrast between the text and the bubble fill. Dark gray or black text on a white or pale background is often the safest choice. White text can work on dark bubbles, but the font must be large enough.
Avoid placing a transparent bubble over a busy image unless you add a solid or semi-solid fill. If the background has many colors or textures, the text may become difficult to read, even if it looks attractive while editing.
Color and Contrast Tips
- Use one main bubble color per slide.
- Keep outlines thin unless emphasis is needed.
- Avoid bright red or neon colors for long text.
- Use brand colors as accents, not decoration.
- Check readability in slideshow mode.
- Test the slide on the display size your audience will use.
Adding Text with a Separate Text Box
In some layouts, you may prefer to add a separate text box on top of the speech bubble. This gives you more control over text placement, especially if the built-in shape margins do not behave the way you want.
To do this, insert the speech bubble first, then go to Insert and choose Text Box. Draw the text box over the bubble, type your message, and remove the text box outline. Group both elements so they move together.
When a Separate Text Box Makes Sense
A separate text box is useful when you need exact spacing, multiple text styles, or custom positioning. It can also help when a speech bubble shape has unusual internal margins that make the text sit too high or too low.
However, separate text boxes require more care. If you move only the bubble and forget the text box, the layout can break. Select both objects, right-click, and choose Group to keep them connected.
Text Box Versus Direct Shape Text
Direct Shape Text:
-
- Faster to create
- Easier to move with the bubble
- Best for simple phrases
- Fewer alignment steps
Separate Text Box:
- More control over placement
- Better for custom layouts
- Useful for mixed formatting
- Requires grouping to stay aligned
Using Speech Bubbles with Images
Speech bubbles work especially well with photos, illustrated characters, product screenshots, and icons. Place the bubble near the person or object, then aim the tail toward the mouth, face, feature, or area being explained.
Keep the image and bubble visually connected. If the bubble is too far away, the audience may not know what it refers to. If it is too close, it may cover important details or make the slide feel cramped.
Using Speech Bubbles with Charts
A speech bubble can highlight a key trend, explain a sudden spike, or summarize the main takeaway from a chart. Instead of forcing the audience to interpret every data point, the bubble can point directly to the insight.
Keep chart bubbles short and factual. For example, write “Revenue rose after the pricing update” rather than a full paragraph. The chart should still carry the evidence, while the bubble helps the audience notice what matters.
Useful Speech Bubble Use Cases
- Character dialogue in training slides
- Customer quotes in sales presentations
- Feature notes on product screenshots
- Data callouts on charts and dashboards
- Teacher prompts in classroom materials
- Process explanations in step-by-step slides
- Short comments in comic-style presentations
Making Speech Bubbles Look Professional
Professional speech bubbles are usually simple. They have clean spacing, readable text, controlled color, and a clear connection to the visual element. The best ones support the slide message without distracting from the main content.
Avoid treating speech bubbles as decorative stickers. Every bubble should have a reason to exist. If the same message could be placed more clearly as a subtitle or label, use the simpler option.
Keeping the Message Short
Speech bubbles are not ideal for long paragraphs. They work best for short comments, labels, quotes, prompts, and single insights. A phrase of five to twelve words often feels more natural than a full sentence.
If you need more detail, place the summary in the bubble and move the explanation into speaker notes, a supporting text block, or the next slide. This keeps the slide readable and presentation-friendly.
Professional Design Rules
- One idea per speech bubble.
- No more than two bubbles on most slides.
- Keep bubble style consistent across the deck.
- Align bubbles with nearby objects when possible.
- Use enough padding around the text.
- Make the tail point with clear purpose.
- Remove bubbles that do not add meaning.
Adding Animation to Speech Bubble Text
PowerPoint lets you animate the speech bubble and its text using the Animations tab. Select the bubble, choose an entrance effect such as Fade or Appear, and adjust the timing so it supports your speaking flow.
Keep animation subtle. A speech bubble that flies, spins, or bounces may feel distracting in a professional deck. Simple fades are usually enough to reveal dialogue, comments, or explanations at the right moment.
Animating Bubble and Text Separately
If you use a separate text box, you can animate the bubble first and the text second. This can create a clean “message appears” effect, especially in training slides or story-based presentations.
To manage this, open the Animation Pane and arrange the order. Use short durations and avoid delays that slow down the presentation. The animation should help the audience follow the point, not wait for the slide to finish moving.
Simple Animation Options
Effect | Best For
Appear | Fast instructional slides
Fade | Professional business decks
Wipe | Step-by-step explanations
Zoom | Informal creative slides
None | Static handouts or reports
Using Speech Bubbles in Templates
If you use speech bubbles often, create a reusable slide layout or copy a styled bubble into your template. This saves time and keeps colors, fonts, borders, and spacing consistent across the whole presentation.
You can also store a finished bubble in a slide library or duplicate it within the same deck. Replace the text each time, then adjust the tail position as needed. This is faster than rebuilding the style from scratch.
Saving a Reusable Bubble Style
After creating a polished bubble, right-click it and choose Set as Default Shape if you want future shapes to use similar formatting. This can speed up work when building decks with several callouts.
For brand-heavy presentations, add your preferred speech bubble to a master slide or template file. Pair it with your approved font and color palette. For related slide design help, see [Internal Link: PowerPoint Design Tips].
Template Benefits
- Faster slide creation
- More consistent visual style
- Fewer formatting mistakes
- Easier brand alignment
- Cleaner collaboration across teams
- Better results when slides are reused later
Common Mistakes to Avoid
One common mistake is adding too much text inside the bubble. Speech bubbles are small visual devices, not paragraph containers. Long messages often become hard to read and can make the slide look less professional.
Another mistake is using low contrast or placing bubbles over busy images. Even a well-written message fails if people cannot read it quickly. Always check the final slide in slideshow mode before presenting.
Fixing Crowded Slide Layouts
If your slide has too many bubbles, reduce the number or split the content across multiple slides. One clear bubble is usually stronger than three competing comments that divide attention.
You can also replace some bubbles with labels, icons, or brief captions. Use the speech bubble only where a conversational or quoted tone adds value. For more layout guidance, visit [Internal Link: Presentation Layout Ideas].
Mistakes and Better Choices
Mistake | Better Choice
Long paragraph inside bubble | Short quote or key phrase
Weak text contrast | Dark text on light fill
Too many bubble styles | One consistent design
Random tail direction | Tail points to the subject
Tiny font size | Larger text and fewer words
Busy image behind text | Solid fill or clearer placement
How to Add Speech Bubbles on Mobile PowerPoint
PowerPoint mobile apps also allow you to add shapes, though the controls are more compact. Open the slide, tap Insert, choose Shapes, and select a callout or speech bubble from the available options.
After placing the shape, tap inside it or use the text editing option to add your words. Mobile editing is useful for quick changes, but detailed formatting is usually easier on the desktop version.
Best Mobile Editing Practices
Use mobile PowerPoint for small edits such as changing wording, moving the bubble slightly, or fixing a typo. For precise alignment, custom spacing, and polished formatting, switch to desktop when possible.
If you must finish on mobile, zoom in while editing. This helps you position the bubble tail accurately and avoid covering important slide content. Always preview the slide before sharing or presenting.
Mobile Editing Tips
- Use simple bubble shapes.
- Keep text short.
- Avoid complex animations.
- Zoom in before resizing.
- Check the slide in landscape view.
- Use desktop PowerPoint for final polish when available.
How to Make Speech Bubble Text More Accessible
Accessible speech bubble text should be readable, high contrast, and easy to follow. Use plain language, avoid tiny fonts, and make sure the bubble does not rely only on color to communicate meaning.
If the slide will be shared as a file, add alt text to important images and keep speech bubble content meaningful. People using assistive tools should still receive the core message of the slide.
Reading Order and Accessibility
PowerPoint has a Selection Pane that can help manage reading order. Place objects in a logical sequence so screen readers move through the slide in a way that makes sense.
Avoid scattering multiple small bubbles across the slide without structure. A clean layout helps every audience member, including people viewing the deck on smaller screens or with visual limitations.
Accessibility Checklist
- Use clear fonts.
- Maintain strong contrast.
- Avoid very small text.
- Keep wording concise.
- Add alt text where needed.
- Check object order in the Selection Pane.
- Do not rely only on color for meaning.
Troubleshooting Text Problems
If text does not appear inside the bubble, make sure the shape is selected and not just the slide background. Right-click the shape and choose Edit Text or Add Text, then type again.
If text disappears after resizing, check the font size, shape margins, and text autofit settings. Right-click the bubble, open Format Shape, and review Text Options to control how PowerPoint handles overflow.
Fixing Text That Looks Misaligned
Misaligned text is often caused by internal margins or vertical alignment settings. In Format Shape, open Text Options and adjust margins, text direction, and vertical alignment until the message sits naturally inside the bubble.
You can also use a separate text box if PowerPoint’s built-in text placement feels limiting. Group the text box and bubble afterward, so they remain together when copied, moved, or resized.
Troubleshooting Reference
Issue | Likely Cause | Fix
Cannot type inside bubble | Shape not selected | Right-click and choose Add Text
Text is too small | Too many words | Shorten copy or enlarge bubble
Text touches edges | Margins too tight | Adjust internal margins
Bubble tail is wrong | Pointer not adjusted | Drag yellow handle
Text overlaps image | Poor placement | Move bubble or add solid fill
Conclusion
Speech bubbles can make PowerPoint slides clearer, livelier, and easier to follow when they are used with purpose. The key is to choose the right callout shape, place it close to the subject, keep the message brief, and format the text so it remains readable from a distance. Small design choices, such as contrast, padding, alignment, and tail position, often make the difference between a rushed slide and a polished one.
Once you know how to add text to speech bubble in PowerPoint, you can use the technique for quotes, labels, chart insights, classroom prompts, training dialogue, and product explanations. Keep the style consistent across your deck, test the slide in presentation mode, and avoid crowding the layout. A speech bubble should guide attention quickly, not compete with the rest of the slide.
FAQ
Can I type directly inside a PowerPoint speech bubble?
Yes. Click the speech bubble shape and start typing. If the cursor does not appear, right-click the shape and choose Add Text or Edit Text. PowerPoint will place the text inside the selected callout shape.
Why is my speech bubble text not fitting?
The text may be too long, the font may be too large, or the bubble may be too small. Shorten the message first, then resize the bubble or adjust text margins in the Format Shape panel.
Can I move the speech bubble tail?
Yes. Select the speech bubble and drag the yellow adjustment handle. This lets you reposition the tail so it points toward the person, image, chart point, or object connected to the message.
Should I use a text box instead of shape text?
Use direct shape text for most simple speech bubbles. Use a separate text box when you need exact placement, mixed formatting, or better control over spacing. Group both objects after positioning them.
What font works best inside speech bubbles?
Clean sans-serif fonts such as Aptos, Calibri, Arial, or Helvetica usually work well. Choose a size that stays readable in slideshow mode, and avoid decorative fonts unless the presentation style clearly supports them.
0 Comments