
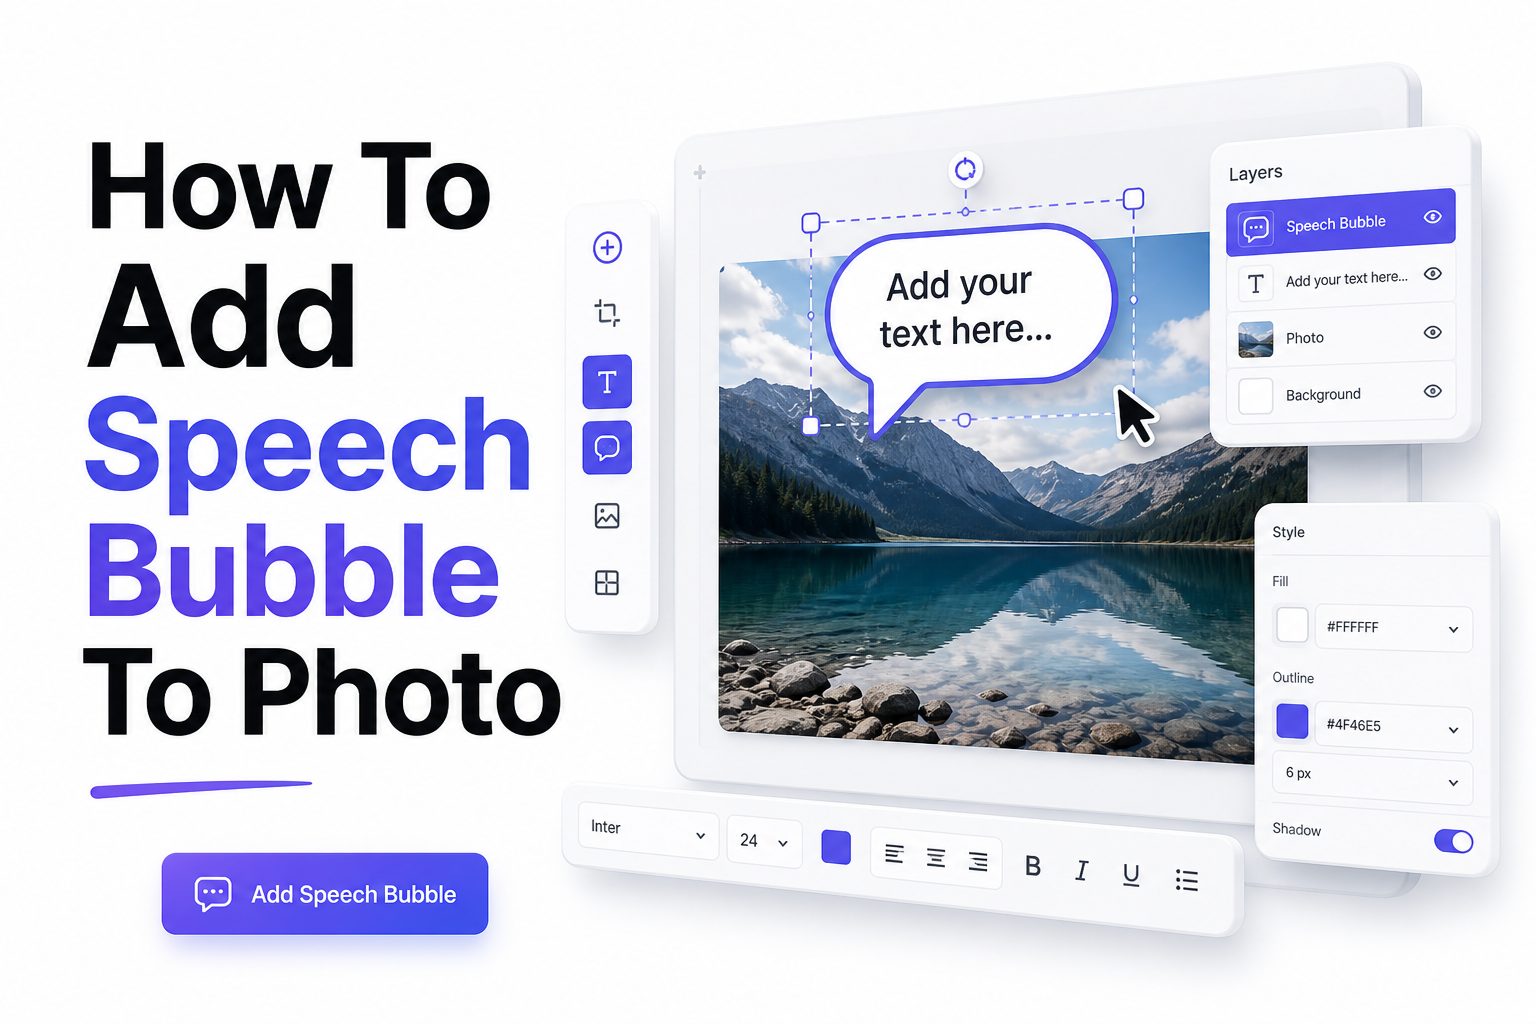
Adding a speech bubble to a photo can turn a simple image into something funny, expressive, useful, or memorable. Whether you want to create a social media post, a comic-style picture, a meme, a classroom graphic, or a branded visual, the right bubble can make the message clearer in seconds. The key is not only placing text on an image, but making it look intentional.
If you are searching for how to add speech bubble to photo, you probably want a quick method that does not ruin the image or make it look cluttered. The good news is that you can do it with beginner-friendly photo editors, mobile apps, online tools, and even built-in design features. This guide walks through the process in a practical way, from choosing the right speech bubble style to exporting a polished final image.
Why Speech Bubbles Work So Well in Photos
Speech bubbles add context without needing a long caption. They guide the viewer’s eye toward a person, pet, object, or scene and make the photo feel more interactive. A short line of dialogue can change the tone from ordinary to funny, dramatic, educational, or promotional.
They also help images perform better on social platforms because people understand the idea quickly. When the text is easy to read and the bubble fits the scene, viewers are more likely to stop scrolling, react, share, or remember the message.
Best Uses for Speech Bubbles in Photo Editing
Speech bubbles work especially well when the photo already suggests a moment of expression. A surprised face, a pet looking at the camera, a product setup, or a candid workplace scene can all become stronger with a short message placed near the subject.
They are also useful for tutorials, marketing graphics, classroom materials, birthday images, comic panels, and customer support visuals. For example, a product photo with a small bubble saying “New shade available” can feel friendlier than plain promotional text.
Popular Reasons to Add a Speech Bubble
- Create memes and funny social posts
- Add dialogue to family or pet photos
- Make classroom images more engaging
- Highlight product features in a friendly way
- Build comic-style image stories
- Add personality to brand visuals
- Make instructions easier to follow
- Turn ordinary pictures into shareable content
Choose the Right Photo Before Editing
A good speech bubble starts with the right image. Choose a photo with enough empty space near the subject, especially around the head or focal point. If the image is too busy, the bubble may compete with faces, objects, or background details.
Lighting matters too. A clear, sharp photo usually works better than a dark or blurry one. If the background is crowded, you can still use a bubble, but you may need a solid fill, stronger outline, or subtle shadow to keep the text readable.
Pick a Speech Bubble Style That Matches the Mood
The style of the bubble should match the message. A classic rounded bubble works well for normal dialogue, while a jagged bubble suggests shouting or surprise. A thought bubble feels softer and is better for imagined thoughts, jokes, or reflective captions.
For professional content, simple shapes usually look best. White bubbles with black or dark gray text are clean and readable. For playful content, you can use brighter colors, comic outlines, or hand-drawn styles, as long as the bubble does not overpower the photo.
Speech Bubble Style Comparison
Style | Best For | Design Tip
Classic rounded bubble | Dialogue, captions, casual posts | Keep the tail pointed toward the speaker
Thought bubble | Inner thoughts, pets, humor | Use small circles leading to the subject
Jagged bubble | Excitement, surprise, shouting | Use sparingly so it does not feel harsh
Caption bubble | Product notes, labels, tutorials | Keep it compact and aligned cleanly
Comic bubble | Storytelling, memes, character photos | Pair it with bold but readable text
How to Add Speech Bubble to Photo Online
Online editors are often the fastest option because they work in a browser and do not require design experience. Many tools let you upload a photo, choose a speech bubble shape, add text, adjust colors, then download the final image in minutes.
Start by uploading your photo and selecting a bubble from the elements or shapes menu. Place it near the subject, resize it carefully, and type a short message. Adjust the font size so the words fit comfortably without touching the bubble edges.
Using Mobile Apps for Speech Bubble Photos
Mobile apps are ideal when you want to edit directly from your camera roll. Many photo editing and design apps include stickers, comic bubbles, text tools, and export settings for Instagram, TikTok, Facebook, Pinterest, or messaging apps.
After choosing your image, add the bubble as a sticker or shape. Use your fingers to resize and rotate it, then place the tail toward the person or object “speaking.” Preview the photo at full screen before saving, because small text can look fine while editing but weak after posting.
Quick Mobile Editing Checklist
- Use a high-resolution photo from your gallery
- Pick a bubble that matches the tone of the message
- Keep the text short and easy to scan
- Leave padding around the words
- Point the bubble tail at the correct subject
- Check readability on a small screen
- Export in the right size for your platform
Adding Speech Bubbles with Desktop Software
Desktop tools give you more control over layout, typography, layers, and export quality. Programs like Photoshop, Affinity Photo, GIMP, and design software can create cleaner results, especially if you need printable images or branded graphics.
The basic process is simple: open the photo, create a bubble shape, add a tail, place text above the shape, then group the elements. Using layers helps you move, resize, and edit the bubble without damaging the original photo.
Simple Steps in Photoshop or Similar Tools
Create a new shape layer using an ellipse, rounded rectangle, or custom bubble shape. Add a smaller triangle or curved tail pointing toward the speaker. Keep the bubble on its own layer so you can adjust the position later if needed.
Next, add a text layer above the bubble. Choose a readable font, center the text, and keep enough margin around every word. If the photo is colorful, add a thin outline or soft shadow to separate the bubble from the background.
Free Tools That Can Add Speech Bubbles
You do not need expensive software to add a speech bubble to a photo. Free tools such as Canva’s free plan, Photopea, GIMP, Pixlr, Kapwing, and some phone editing apps can handle basic bubble and text placement.
The best free option depends on your goal. Canva is easy for social media graphics, Photopea feels closer to Photoshop, and GIMP is strong for more detailed editing. For quick browser-based edits, Pixlr and Kapwing are practical choices.
Free Tool Options at a Glance
Tool | Best Use | Skill Level
Canva | Social posts and simple graphics | Beginner
Photopea | Photoshop-style editing in browser | Intermediate
GIMP | Detailed free desktop editing | Intermediate
Pixlr | Fast browser photo edits | Beginner
Kapwing | Memes and social media visuals | Beginner
Phone markup tools | Very quick edits | Beginner
Writing Text That Fits Inside a Speech Bubble
The words inside the bubble matter as much as the design. Short, natural phrases work best because viewers should understand the message instantly. A bubble is not the place for long explanations, dense jokes, or full paragraphs.
Try to write the line as if the person or character is actually saying it. For example, “I called it first” feels more natural than “This person is claiming ownership of this object.” Direct, conversational wording usually creates the strongest effect.
Make the Speech Bubble Easy to Read
Readability should guide every design choice. Use high contrast between the bubble and the text, avoid overly decorative fonts, and make sure the words are large enough for mobile viewing. If someone has to zoom in, the design needs adjustment.
White bubbles with dark text work in most cases, but not always. If the photo background is very bright, use a colored outline, drop shadow, or slightly tinted bubble. The goal is to make the message stand out without looking pasted on.
Text and Readability Tips
- Use one short sentence when possible
- Avoid thin script fonts for small images
- Keep strong contrast between text and bubble
- Leave generous padding around the text
- Break longer phrases into two clean lines
- Avoid placing bubbles over faces
- Preview the image at the final display size
Place the Bubble in the Right Position
Placement should feel natural. The bubble tail should point clearly toward the speaker, and the shape should sit close enough to connect with the subject. If it floats too far away, viewers may not know who is talking.
Avoid covering important visual details such as faces, hands, product labels, or background clues. Empty space above or beside the subject is usually best. When working with group photos, placement becomes even more important because the wrong tail direction can confuse the message.
Use Fonts That Support the Photo’s Tone
Fonts help set the mood. A clean sans-serif font works for most casual, business, and educational images. Comic fonts can suit playful graphics, but they should be used carefully because some look outdated or hard to read.
For brand visuals, use fonts that match your existing style guide. If you are creating content for a blog or business, consistency matters. You can also read [Internal Link: photo editing tips] for more guidance on choosing visual styles that support clear messaging.
Common Placement Mistakes to Avoid
- Putting the bubble over the subject’s face
- Pointing the tail at the wrong person
- Placing text too close to the bubble edge
- Using a font that clashes with the photo
- Making the bubble larger than necessary
- Covering product names or important details
- Adding too many bubbles to one image
Use Color Without Making the Image Messy
Color can make a speech bubble more expressive, but it needs restraint. A bright yellow bubble may work for a funny social post, while a soft gray or white bubble may suit professional content better. The color should support the message, not distract from it.
A simple method is to pull a color from the photo itself. If someone is wearing a blue jacket, a pale blue bubble or blue outline can create visual harmony. This helps the edit feel connected instead of randomly placed.
Add Shadows and Outlines Carefully
A shadow can help a bubble stand out against a complex background. The trick is to keep it subtle. A heavy shadow may make the image look dated, especially on clean brand graphics or professional visuals.
Outlines are often better for comic-style photos. A black or dark gray stroke gives the bubble structure and improves readability. Keep the outline thickness proportional to the image size so it looks intentional on both desktop and mobile screens.
Helpful Design Rules for Cleaner Results
- Match bubble colors to the photo or brand palette
- Use shadows only when the background is busy
- Keep outlines clean and consistent
- Avoid neon colors unless the style calls for them
- Use no more than two font styles
- Keep the bubble shape simple for professional images
- Check the final image on light and dark screens
Adding Speech Bubbles for Social Media Posts
Social media images need to communicate fast. A speech bubble can help, but it should be bold enough to read in a feed. Keep the message short, place it high enough to avoid cropping, and use platform-friendly dimensions.
For Instagram, square or vertical images often perform well. For Facebook and X posts, make sure the bubble is not too close to the edges. For Pinterest, vertical images give you more room, but the text still needs to be large and clean.
Using Speech Bubbles for Marketing Images
Speech bubbles can make marketing images feel less stiff. A customer photo with a bubble saying “This saved me so much time” can feel more personal than a standard testimonial block. Product photos can also use bubbles to highlight benefits quickly.
The key is credibility. Avoid exaggerated claims or cluttered promotional wording. A useful bubble might say “Now in travel size” or “New matte finish.” For more visual content ideas, see [Internal Link: social media image design] when planning reusable post formats.
Marketing Bubble Ideas
- “Back in stock”
- “New color just landed”
- “Made for busy mornings”
- “Customer favorite”
- “Limited weekend offer”
- “Now available online”
- “Easy setup in minutes”
- “Gift-ready packaging”
How to Add Speech Bubbles to Pet Photos
Pet photos are perfect for speech bubbles because expressions often look funny or dramatic. A dog staring at dinner, a cat sitting in a box, or a bird looking curious can become more entertaining with a short line of imagined dialogue.
Keep the wording simple and playful. The best pet captions often sound like a quick thought rather than a full joke. Use a thought bubble for inner commentary or a classic bubble when you want the pet to appear as if it is speaking.
How to Add Speech Bubbles to Family Photos
Family photos can use speech bubbles for birthdays, invitations, holiday cards, and private jokes. A child holding a cake, a grandparent smiling, or a group reacting to a surprise can become more personal with a carefully placed line.
Be thoughtful with tone. A joke that works in a private chat may not suit a public post. When sharing family images online, avoid adding personal details such as addresses, school names, or sensitive information inside the bubble.
Fun Personal Photo Ideas
- Birthday greetings with a short message
- Holiday cards with playful dialogue
- Baby milestone photos with cute captions
- Reunion photos with inside jokes
- Vacation images with travel reactions
- Wedding snapshots with light commentary
- Pet and family combination photos
- Scrapbook-style memory pages
How to Add Speech Bubbles to Product Photos
Product photos need clarity first. A speech bubble can highlight a feature, but it should not cover the product, logo, texture, packaging, or any detail a buyer needs to inspect. Place the bubble in negative space around the item.
Use concise benefit-driven text. Instead of saying “This product has been designed with a durable material,” write “Built for daily use.” Shorter wording feels cleaner, fits better, and helps shoppers understand the value faster.
How to Add Speech Bubbles to Educational Images
Teachers, trainers, and content creators can use speech bubbles to make learning materials more approachable. A historical figure, science diagram, safety photo, or language-learning image can become easier to follow with a short line of guided text.
Educational bubbles should be accurate and direct. Use them to simplify a concept, label a step, or create a character voice that supports learning. Avoid overloading the image with too many bubbles because students may lose the main point.
Best Practices for Educational Speech Bubbles
- Use one idea per bubble
- Keep language age-appropriate
- Pair bubbles with clear visuals
- Avoid covering labels or diagram details
- Use consistent colors for repeated characters
- Make text large enough for projection
- Export high-resolution files for printing
- Keep humor relevant to the lesson
Export Settings for a Clean Final Image
Export quality affects how polished your speech bubble looks after editing. If the image will be posted online, JPG is usually fine for photos, while PNG is better when the text needs crisp edges or the design includes flat colors.
Check the final dimensions before downloading. A small image may look sharp in the editor but blurry once uploaded. For social media, use recommended platform sizes when possible, and keep a backup version of the editable file for future changes.
Common File Formats for Speech Bubble Photos
JPG works well for most photos because it keeps file sizes manageable. It is a practical choice for blog posts, social media updates, and casual sharing. Use a high-quality export setting so the text does not become fuzzy.
PNG is better when your design includes sharp text, solid color shapes, or transparent backgrounds. It usually creates a larger file, but the edges stay cleaner. For print projects, export at higher resolution and check the result before sending it.
Export Format Checklist
- Use JPG for regular photo sharing
- Use PNG for sharper text and graphics
- Save an editable version when possible
- Export at the correct platform size
- Avoid heavy compression
- Check the image after uploading
- Keep important text away from edges
- Use high resolution for print materials
Mistakes That Make Speech Bubble Photos Look Unprofessional
The most common mistake is adding too much text. A crowded bubble pulls attention away from the photo and makes the image harder to scan. If the message needs several sentences, use a caption outside the image instead.
Another issue is poor alignment. Text should sit neatly inside the bubble with balanced spacing on all sides. The tail should point naturally toward the subject. Small details like these decide whether the final image looks polished or rushed.
How to Make the Bubble Feel Part of the Photo
A speech bubble will always be a graphic element, but it should still feel visually connected to the image. Matching color, angle, scale, and placement helps the design feel more natural. The bubble should support the photo rather than dominate it.
You can also adjust opacity slightly or add a gentle shadow when needed. For comic-style edits, strong outlines and bold text are acceptable. For lifestyle, business, or product images, cleaner and quieter design choices usually look more credible.
Professional Finishing Tips
- Keep the message shorter than you think
- Align text carefully inside the bubble
- Match the bubble scale to the subject
- Use consistent styling across image sets
- Avoid low-resolution bubble stickers
- Check for spelling before exporting
- View the final image at small size
- Compare before and after versions
Conclusion
Adding a speech bubble is one of the simplest ways to give a photo more personality, context, or clarity. The best results come from choosing the right image, writing a short message, placing the bubble naturally, and keeping the design readable across different screen sizes. You do not need advanced design skills, but you do need attention to spacing, contrast, and tone.
Whether you are making a meme, classroom graphic, family photo, product image, or branded post, a well-placed bubble can make the image easier to understand and more enjoyable to view. Once you know how to add speech bubble to photo, the process becomes quick, flexible, and useful for many types of content. Keep the message focused, choose tools that match your skill level, and export a clean version that looks good wherever you share it.
FAQ
Can I add a speech bubble to a photo for free?
Yes, many free tools let you add speech bubbles, including Canva, Photopea, GIMP, Pixlr, and mobile editing apps. Free versions usually include basic shapes, text controls, and export options suitable for social media or casual image editing.
What is the best app for adding speech bubbles?
The best app depends on your needs. Canva is easy for beginners, Photopea offers more control, and mobile apps are convenient for quick edits. Choose a tool that lets you resize, position, and style both the bubble and text.
How much text should go inside a speech bubble?
Keep the text short, usually one sentence or a few words. Speech bubbles are meant to be read quickly. If the message is long, shorten it or place extra details in the post caption instead.
Can I use speech bubbles on business photos?
Yes, speech bubbles can work well on business photos when used carefully. They are useful for product callouts, announcements, testimonials, and social posts. Keep the design clean, readable, and consistent with your brand style.
Should I use JPG or PNG for speech bubble images?
Use JPG for regular photo posts and smaller file sizes. Use PNG when you want sharper text, cleaner edges, or graphic-heavy images. For print projects, export at a higher resolution to keep the bubble and text crisp.
0 Comments